
Ever wondered how to shoot the Milky Way? If so, we put together these ten tips and resources to help you successfully shoot the Milky Way and get clean beautiful images every time.
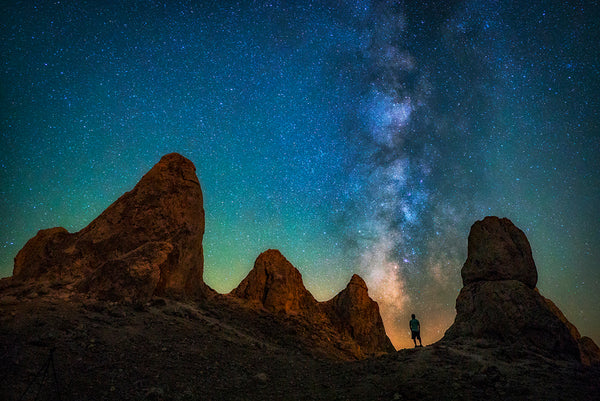
1. Scout the location. Look for places that have rock formations, unique structures and foreground interest to create depth and interest. In the photo above Stan Moniz scouted these rock formations to add interest and depth to his Milky Way image.


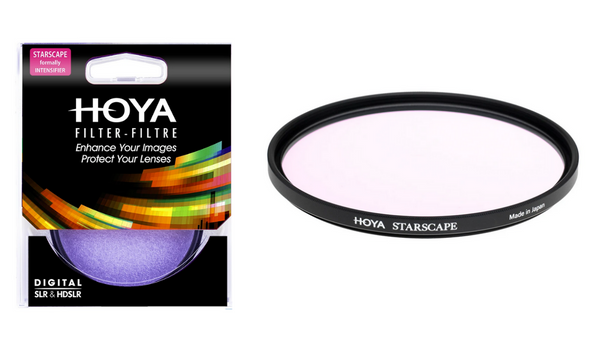
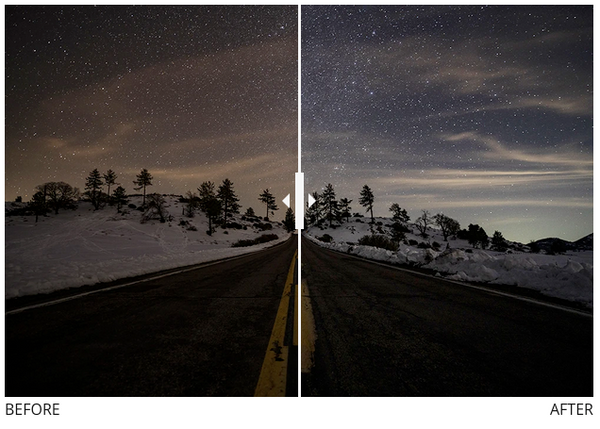
3. Check for light pollution. Use a Light Pollution Map. Blue Marble has a great site that shows light pollution around the world. And carry a light pollution filter in your camera bag. The Starscape Light Pollution filter targets specific wavelengths of light emitted by common Sodium and Mercury-vapor street lamps and blocks a portion of that orange/yellow glow as it passes through the filter. The effect can be dramatic or subtle depending on how strong the light source is and how much atmospheric haze is in the air. The end result is a "cleaner" RAW file without the orange/yellow glow polluting your image. It allows you to color correct and enhance colors without needing to compensate for the "pollution".
4. Seasonal Composition. The Milky Way position changes seasonally. In the early season it’s an arch across the sky, during mid-season it changes to diagonal across the sky and in late season it becomes vertical. Below are some examples.
- Arch - the Milky Way is in an arch formation March-May

- Diagonal - the Milky Way is in a diagonal position May-July

- Vertical - the Milky Way is in a vertical position August-September


5. Moonlight Contamination. Plan your shoot when there is less moonlight. Use the Milky Way Calendars from Capture the Atlas. Capture the Atlas has Milky Way calendars for different regions around the world with dates, moon illumination, galactic visibility and position. They also have a guide you can download with detailed information if you want to learn more.

6. Pre-Visualize Composition. Confirm the direction of the Milky Way on location using the Photopills App. The Augmented Reality Night mode in the app will
help you plan the paths of Sun, Moon and Milky Way when scouting a potential photo, film or time-lapse location.
7. Setting Exposure. Use the guidelines below to help you get the best Milky Way shots.
- Aperture: Maximum allowed by the lens.
- ISO: Maximum allowed by the camera with noise under control.
- Exposure: The 500 rule is a great place to start. It’s a basic exposure and good for any photos that don’t need to be large. The 500 rule is used to measure the maximum exposure time you can shoot before the stars become blurry or before star trails appear. Setting the shutter speed for longer than allowed by this rule will result in images that do not have sharp stars. Here’s the equation: 500 / Focal Length of Your Lens = The Longest Exposure (in Seconds) Before Stars Start to “Trail”. For advanced users and anyone who wants pin point stars that can be used for large images, use the NPF rule. Follow this link to learn more about the NPF Rule.
8. Achieve Critical focus. Your camera's auto-focus system will not work at night. You need to set your camera to manual focus. In MF mode, set focus at or near infinity. Take a test shot then use your playback mode and zoom feature to make sure you are at critical focus. If it’s not in focus, repeat the steps until it is. Once you’ve achieved critical focus take down the focus ring on your lens to avoid accidentally changing focus while shooting.
9. Don’t use your shutter release button. Any camera movement can cause motion blur and ruin your photograph. We highly recommend using your camera’s app to trigger your shutter remotely. You can also use a hard wired shutter release that connects to the cameras USB/accessory port. If none of those are an option, set your cameras timer to go off at least 3 seconds after you fire the button to avoid camera shake.
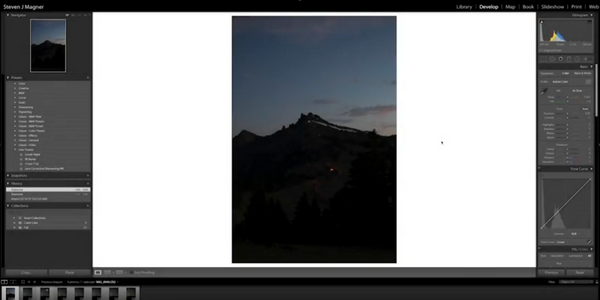
10. Post Processing. Process the photos to highlight the details inside the Milky Way, especially the galactic core. Be careful not to over process the image. Check out this great post processing video tutorial by our Ambassador Steven J Magner.
We hope these tips help you succeed and inspire you to use the resources we mentioned to learn more. The Milky Way season is just beginning so there is plenty of time to practice and perfect your style. Happy Shooting!